
GALLERY


lloyd street tyre and auto service
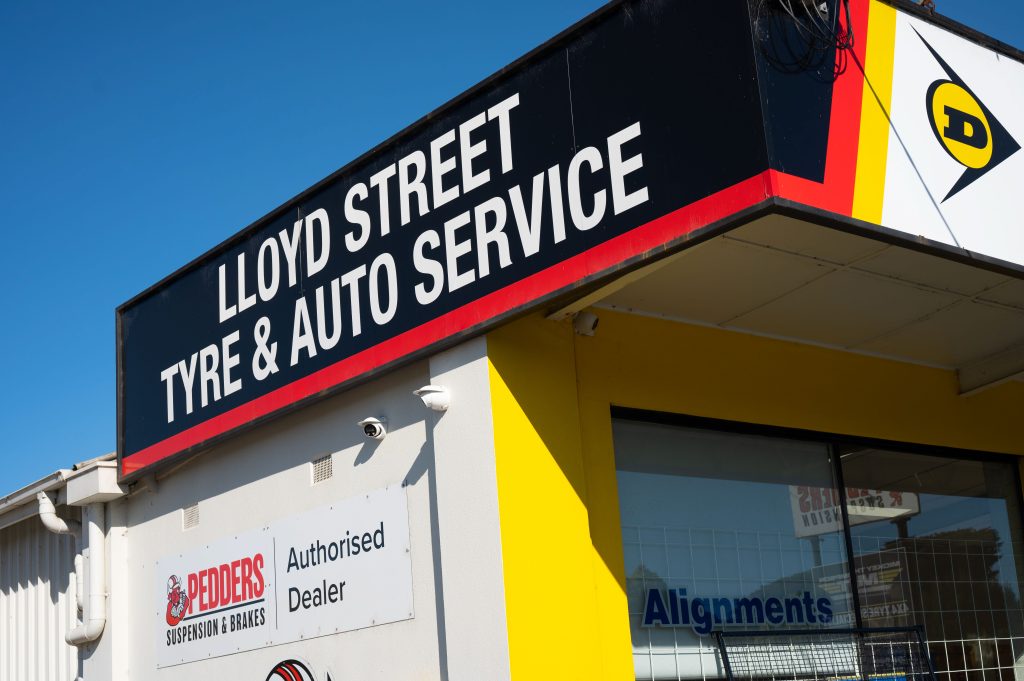
lloyd street tyre and auto service


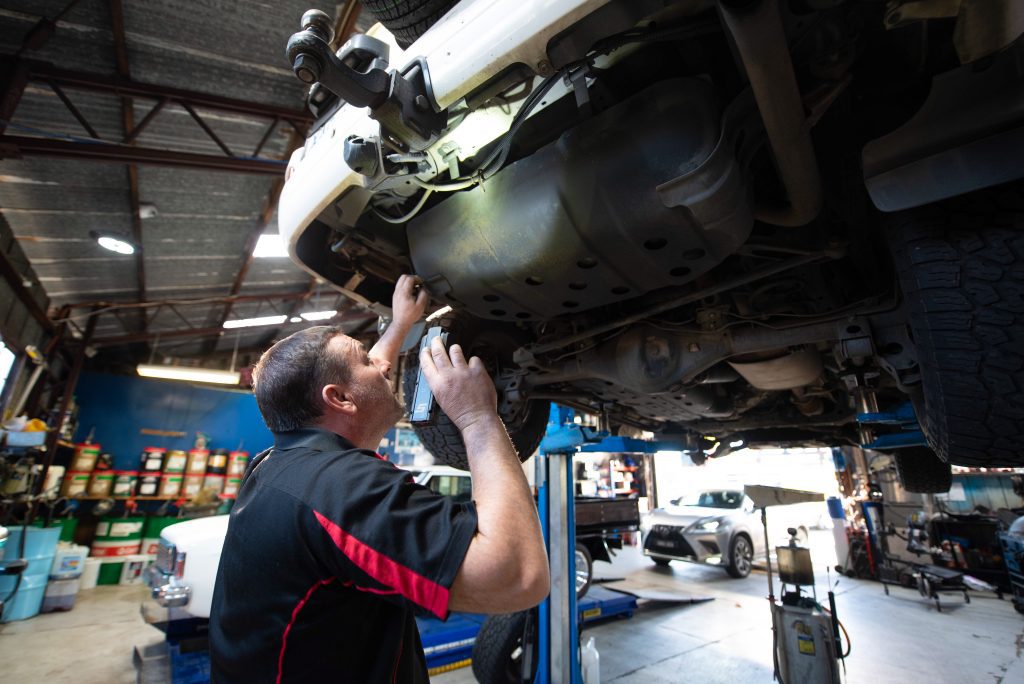
lloyd street tyre and auto service_24


lloyd street tyre and auto service_24


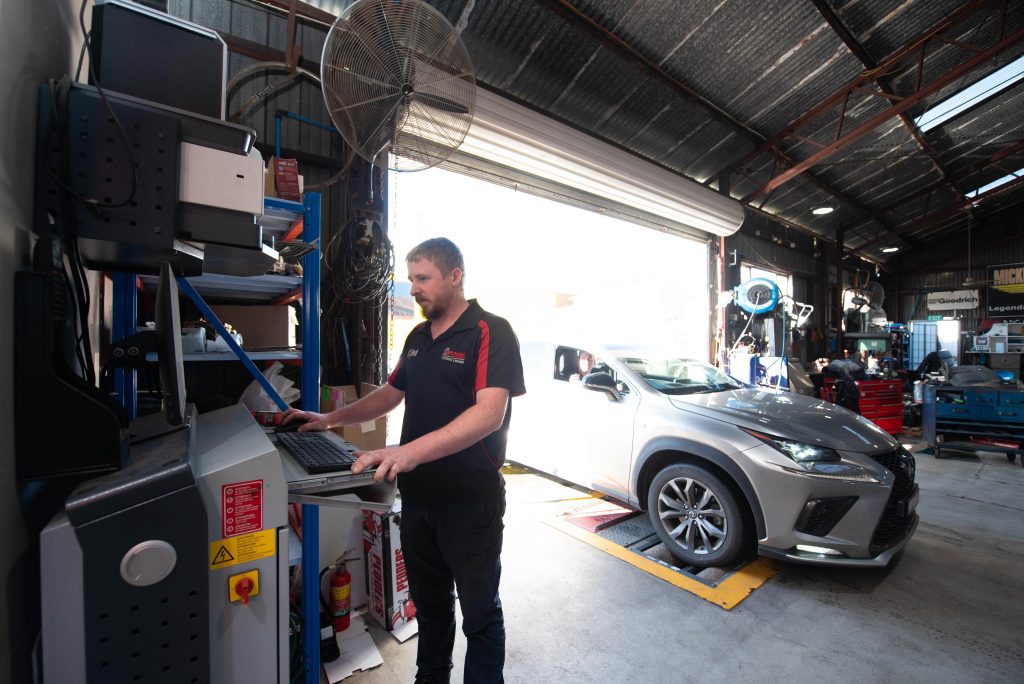

lloyd street tyre and auto service_24


lloyd street tyre and auto service_24


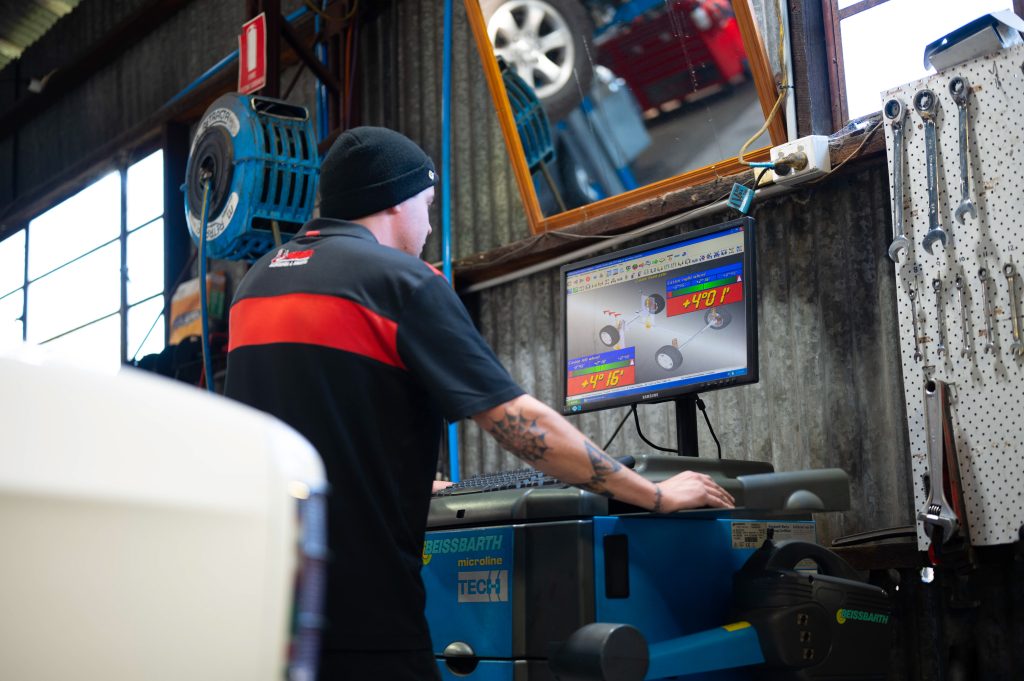
lloyd street tyre and auto service_24